Create Dimensional Finishes Using Toscana Milk Paint
, by Gene Howard, 4 min reading time
, by Gene Howard, 4 min reading time
In this article, we'll guide you through the step-by-step process of achieving a two-dimensional finish that will leave everyone in awe. Get ready to unleash your creativity and learn how to transform your furniture into a work of art.
Welcome to another exciting Finish Friday, where we delve into creating stunning artisanal finishes using Amy Howard at Home products! In this article, we'll guide you through the step-by-step process of achieving a two-dimensional finish that will leave everyone in awe. Get ready to unleash your creativity and learn how to transform your furniture into a work of art.
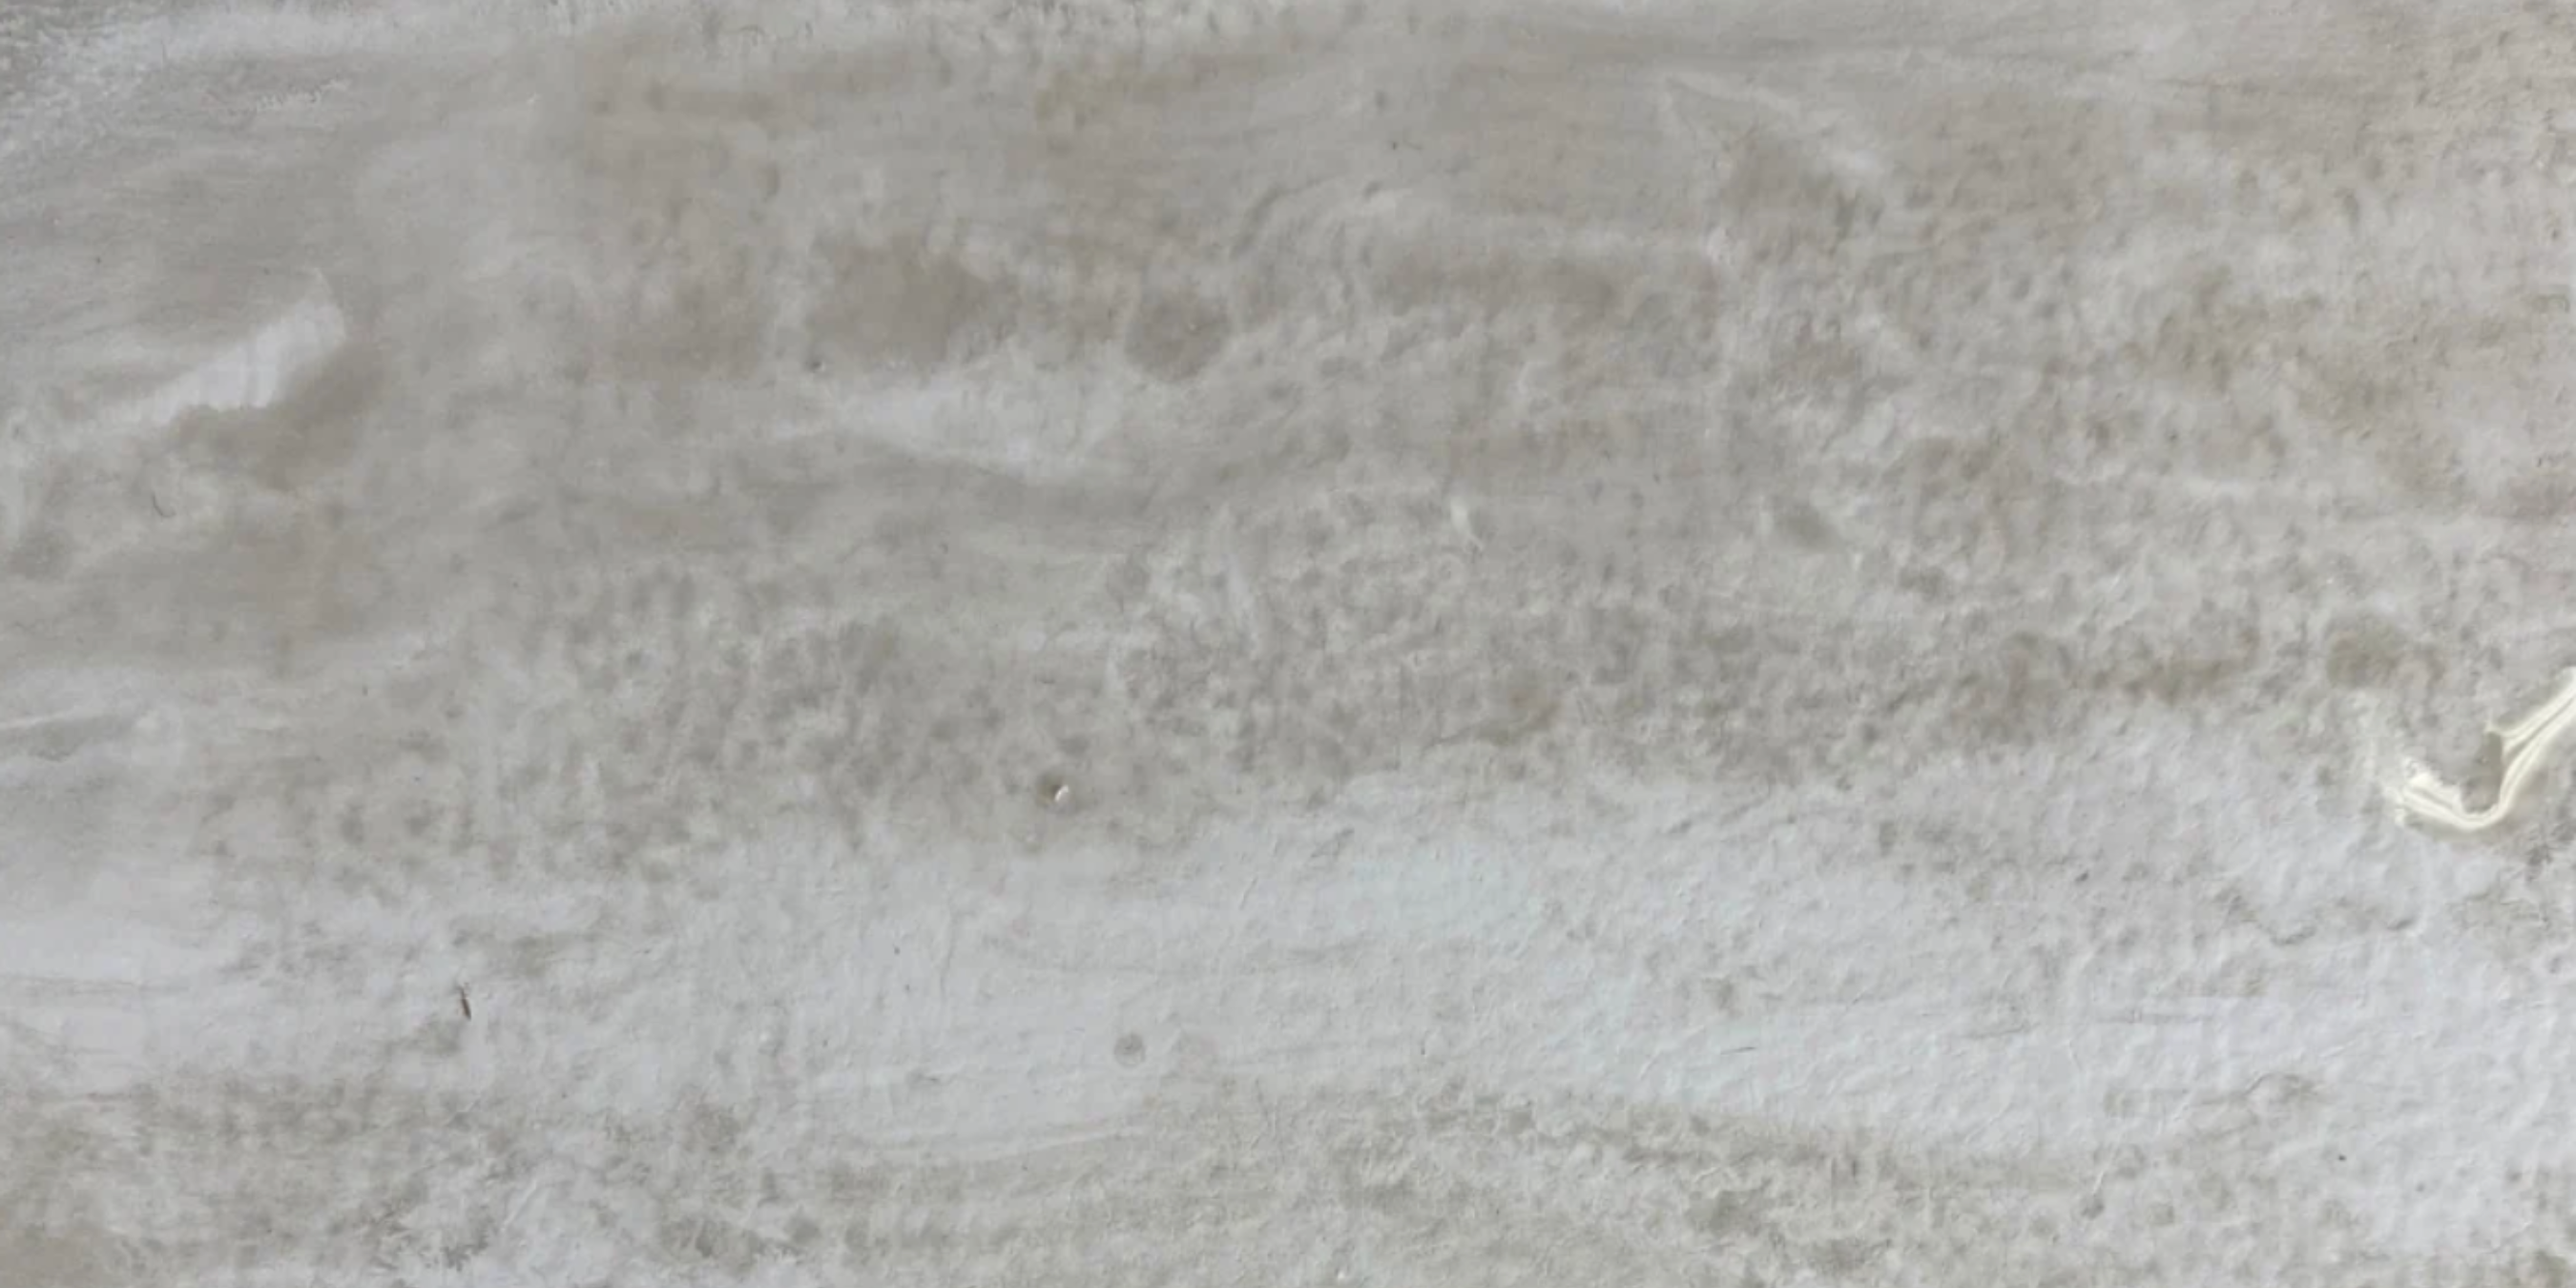
The journey begins with selecting the perfect base coat. The base coat we chose for this finish Southern Gentleman, a captivating darker blue-green shade. The uniqueness of Toscana Milk Paint lies in its versatility and the ability to distress and lift the finish. The Toscana Milk Paint is mixed with our Milk Paint Binder to enhance adhesion.

Mix the Southern Gentleman Toscana Milk Paint with the Milk Paint Binder and water in a bowl. The Milk Paint Binder enhances to ensure it adheres seamlessly to our surface.

Apply the mixture to your surface using a chip brush. Ensure even coverage and let the paint dry.

Next, we are going to elevate our finish by introducing a stenciled pattern. Choose a design that resonates with your vision. Amy Howard at Home's adhesive stencils are recommended for ease of application and reusability. We chose to use the Vintage Damask stencil and carefully positioned it over our dry base coat.

Load a spreader with Gel Art Ink (we used Can't Never Could) and apply it over the stencil in an even manner. This layer with a darker color creates a shadow effect, which is how we add depth to the finish.

Once the first layer of Gel Art Ink is dry, we are going to switch to our highlight layer. We used our Gold Metallic Gel Art Ink and applied it over the stencil, slightly offset from the black ink. Pay close attention to ensure your second stencil layer is slightly off set and lined up correctly with the first stencil layer. This creates a beautiful contrast and brings the design to life!

Next, we made a glaze using Southern Gentleman Toscana Milk Paint and water – we don't use our Milk Paint Binder in this step. Apply the glaze evenly over the entire surface, which will help tone down the intensity of the Gold Metallic Gel Art Ink and yield a more subtle and refined look.

Protect your beautiful finish by applying Amy Howard at Home Matte Sealer. This crucial step ensures our previous layers are protected and remain pristine over time.

Next, load up your brush with Light Antique wax and apply it evenly to the entire surface. This will help tone down some of the more vibrant colors and give your piece an aged patina. To emphasize that aged patina even more, we are going to lightly and conservatively apply Dark Antique Wax only in the areas that would have aged more naturally over time. Your Light Antique Wax layer should be mostly dry to the touch before applying the Dark Antique Wax. Be very, very selective with how you apply the Dark Antique Wax – it's very easy to put too much and give your finish a muddy and dirty look.

Lastly, we are going to give our piece a truly antique and aged patina by pouncing Dust of Ages in all the nooks and crannies using a chip brush. If you are using a piece with more carved detail, really use your brush to push the Dust of Ages into all the crevices. Wipe off the excess Dust of Ages, and then use a clean lint-free cloth to lightly buff the Dust of Ages off the raised details of your surface. You want to use a hit-drag motion as if you were buffing a shoe. As you do this, you will remove the excess Dust of Ages and lightly buff your finish, which will allow the painted layers to show through and really shine!