Finish Friday: Create Amy's Classic Premiere Finish
, by Alex Beard, 4 min reading time
, by Alex Beard, 4 min reading time
Are you ready to transform your furniture into a stunning old-world masterpiece? For this week's Finish Friday, we are walking through the steps to create the best-selling selling finish from Amy's former furniture line, Amy Howard Collection!
Begin by selecting your desired color for the base coat. In this tutorial, we used One Step paint in Black. Dip a chip or sponge brush into the One Step Paint and apply a single, even coat onto your surface. Raw wood is ideal, but you can also paint over melamine, metal, or vinyl. Allow the base coat to dry completely. One coat generally provides excellent coverage, but a second coat may be necessary depending on the condition of your surface.

Once the base coat is dry, shake your Cracked Patina thoroughly. Apply the Cracked Patina completely over the dried base coat. Work in one direction and avoid over-brushing to prevent brush strokes. Allow the Cracked Patina to dry for 10-15 minutes. Apply a second coat and let it come to tack for best results. The Cracked Patina will never be completely dry to the touch – it remains somewhat tacky.

As the Cracked Patina begins to come to tack, you'll notice it begins to crack and separate in various places. Use a negative tool (e.g., a brush without paint) to gently pull and manipulate the Cracked Patina to create cracks, crevices, and chips to your preference. The more you agitate the Cracked Patina, the more texture your final finish will have. Work quickly and in small sections to ensure optimal results. Once you've achieved the desired texture, allow the surface to dry.

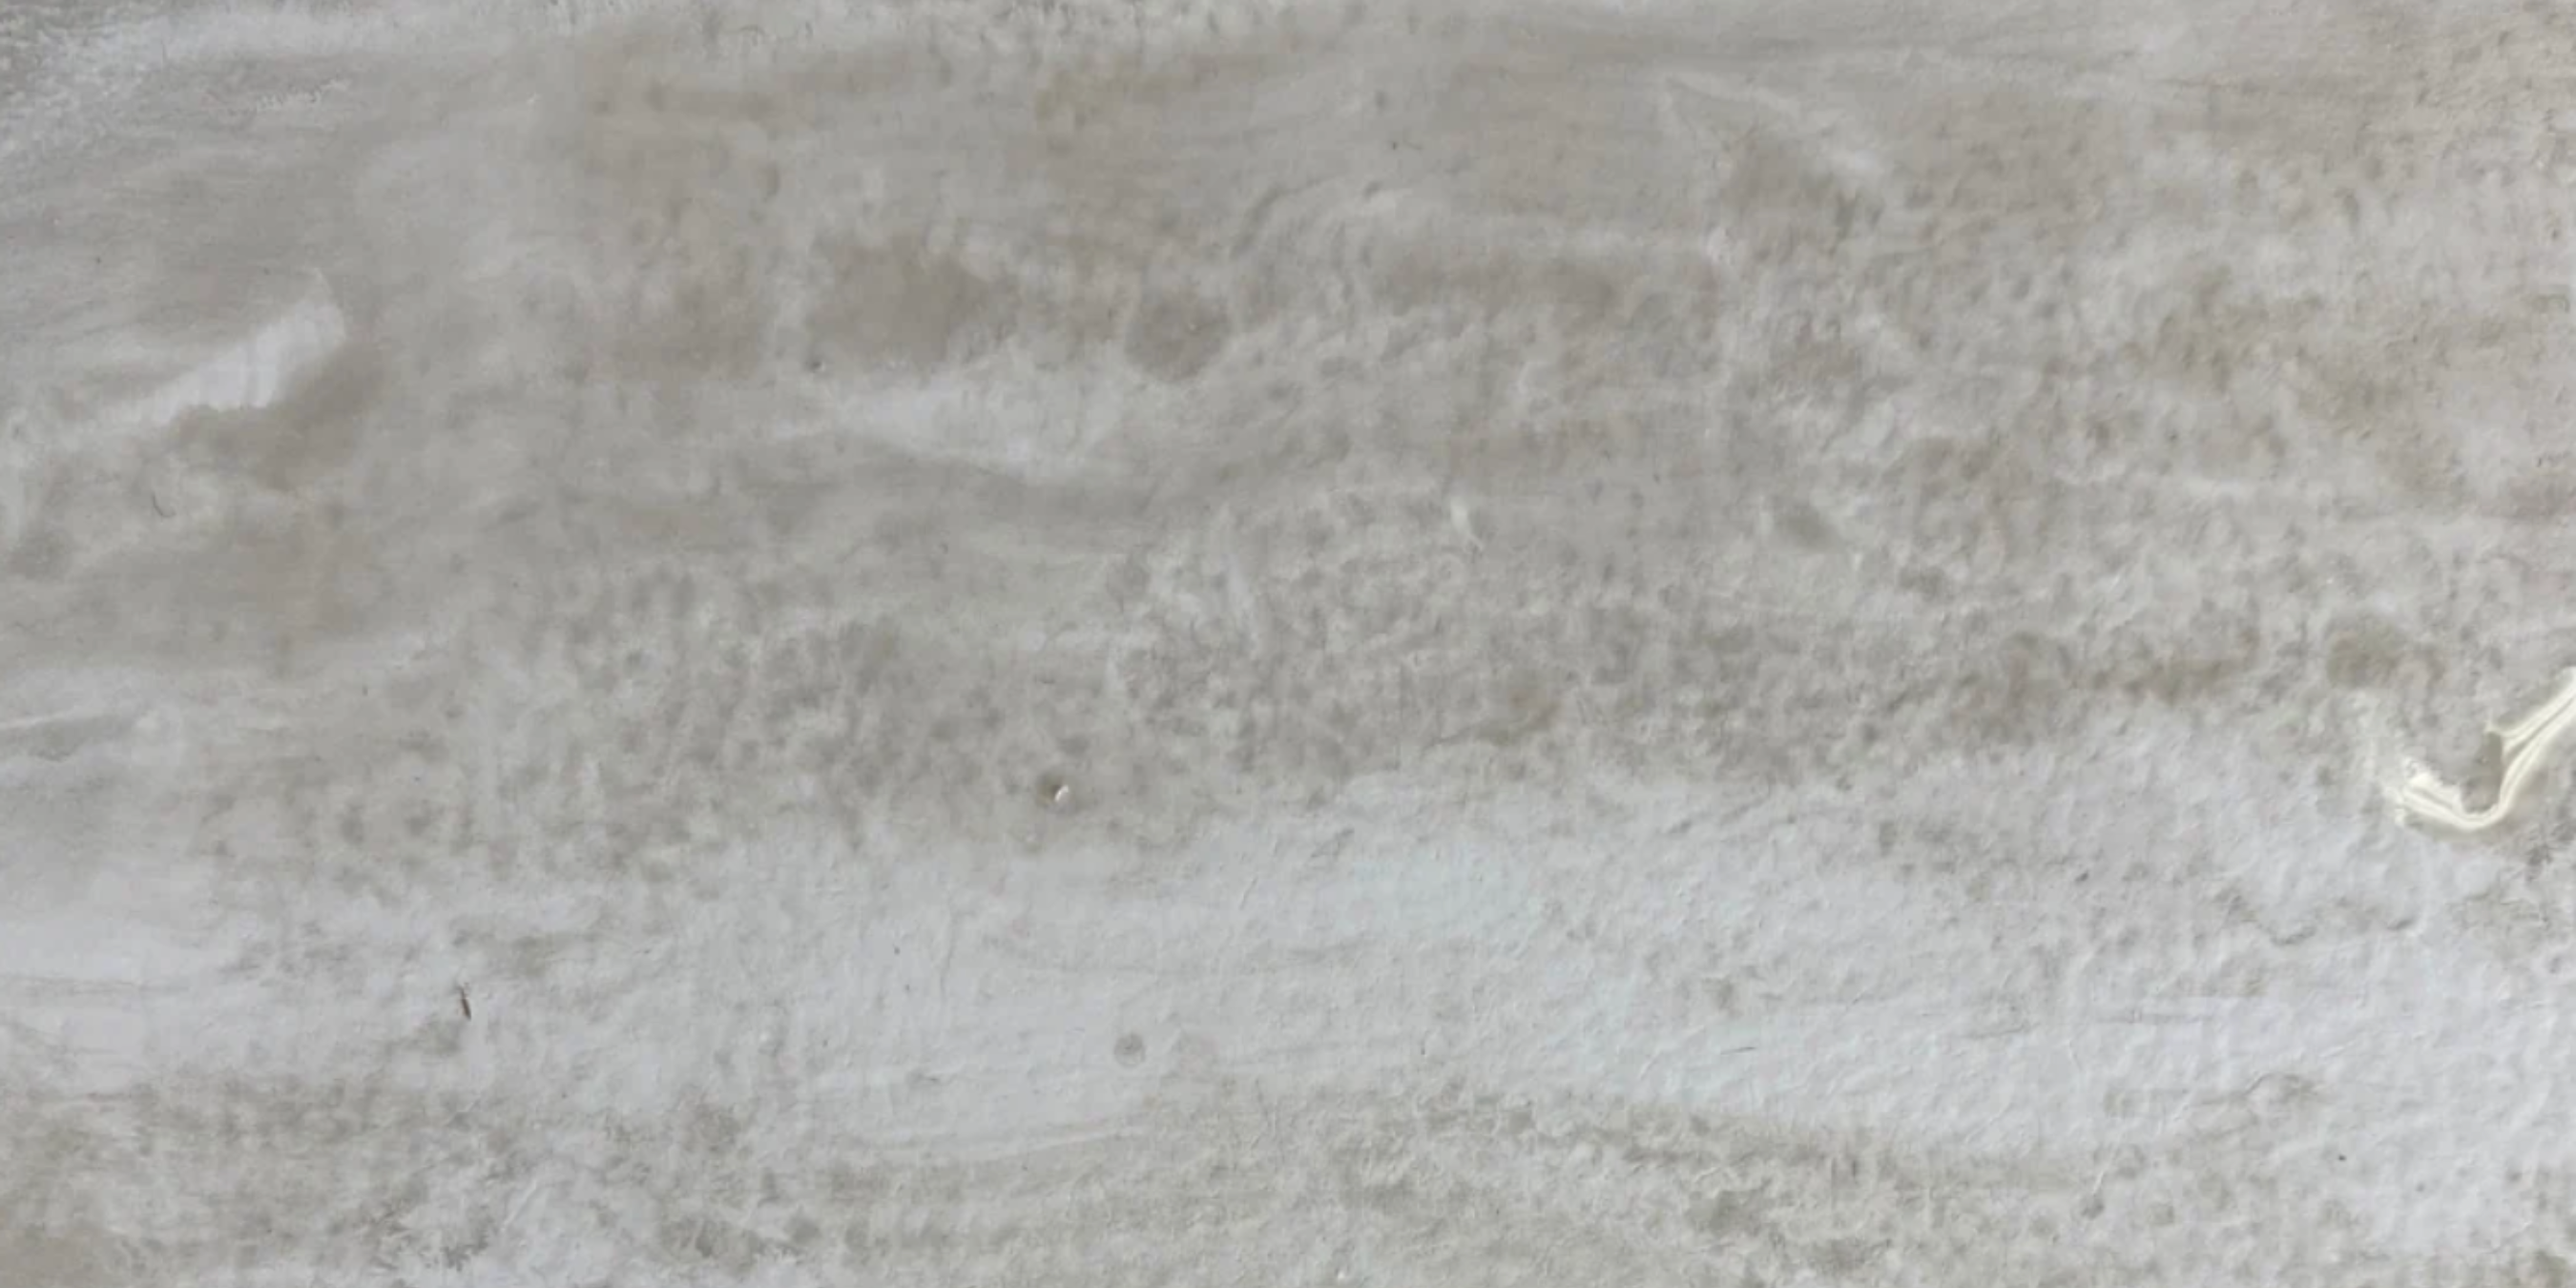
Once the Cracked Patina is mostly dry, apply a second layer of your One Step Paint. You will notice as you apply the paint, it will begin to pull away in some areas and crack in other areas. This variation in texture if what will provide your chippy and textural finish in the end.

Apply painter's tape to create the lines you want for your gilded accent. Ensure the surface is dry before application. You can paint your desired color under the tape. Remember, this color will faintly show through your gilded finish. For example, you can use Charm School One Step Paint for a more traditional red base.

Apply Gilding Size over the areas where you want to apply gold leaf. Ensure complete coverage for proper adhesion. Allow the Gilding Size to reach a tacky consistency before applying gold leaf. Test by tapping with your ring finger; it should feel slightly sticky.

Then, carefully apply gold leaf over the tacky Gilding Size, ensuring complete coverage. Use a clean brush or cloth to press the leaf onto the surface gently. Once applied, burnish the gold leaf to remove excess and reveal the desired texture and shine.

Use a clean brush to apply Light Wax over the entire surface, including the gold leaf. This adds depth and protection to the finish. If desired, apply Dark Wax to set back the gold leaf and enhance the antique look. Use steel wool to buff and distress the finish. Allow the wax to dry for 20-30 minutes until it reaches a buttery smooth consistency.

Once the wax is dry, gently buff the surface using a clean cloth. Avoid over-buffing to maintain the desired texture and appearance. Consider applying Dust of Ages to highlight details and add depth and character.